How to Embroider on Clothes: The Easiest Ways to Personalize Your Clothing
Embroidery on clothes is the art of stitching decorative designs, letters, or motifs directly onto garments using a needle and thread. Learning how to embroider on clothes lets you personalize plain fabrics, refresh old outfits, and create meaningful details on jeans, jackets, shirts, or baby dresses.
If you want to add detail to denim, create monograms on collars, or design your own patches, this guide will show you clear steps and easy fixes. Keep reading to know how to personalize your clothes.
1. What Is Embroidery on Clothes?
Embroidery on clothes refers to the process of stitching decorative designs, letters, or motifs directly onto garments using thread and a needle. It can be as simple as adding initials on a shirt pocket or as detailed as creating floral patterns across a jacket. People use embroidery to personalize fabric, refresh old clothes, or add a handmade touch to boutique fashion.
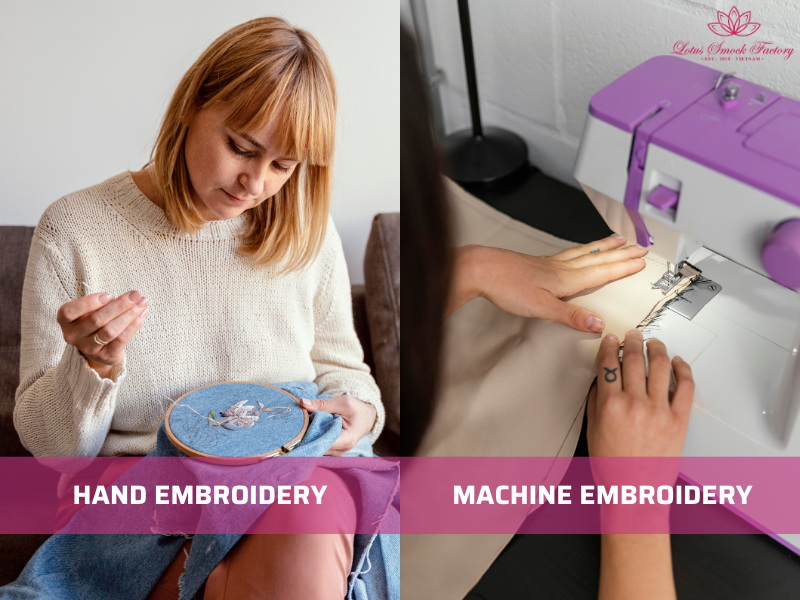
There are two main ways to embroider on garments:
- Hand embroidery
You stitch designs by hand with a needle, thread, and hoop. Hand embroidery is slower but gives you control over every detail. So, it works well for small projects, personal gifts, and decorative accents. - Machine embroidery
A sewing machine or embroidery machine creates designs more quickly. Machines are useful for larger projects or when repeating the same pattern on many garments. They provide consistency but less flexibility compared to hand stitching.
Tips: Most beginners start with hand embroidery because it requires fewer tools and is easier to practice at home. Simple stitches give clean results and are easy to learn.
2. Materials You Need to Embroider on Clothes
Before you start stitching, prepare the right fabric and tools. Choosing proper materials helps your embroidery look neat and last longer.
2.1. Best Fabrics and Clothing Types
Not all fabrics behave the same when embroidered. Some hold stitches firmly, while others stretch or distort. You should choose:
- Cotton: The most beginner-friendly fabric. It is stable, smooth, and easy to hoop. Works well for shirts, napkins, and baby clothes.
- Denim: Strong and durable. Perfect for jackets, jeans, and tote bags. Great for bold stitches and floral patterns.
- Linen: Breathable and smooth. Good for blouses, dresses, and table linens.
- Stretchy fabrics (jersey, knits): More difficult to embroider. They require stabilizers to stop stretching and puckering.
Why stabilizers matter:
Stabilizers sit behind your fabric and keep it firm while you stitch. They prevent distortion and make your embroidery last longer. Therefore, we recommend choosing cut-away stabilizers for stretchy clothes and tear-away stabilizers for stable fabrics like cotton or denim.
2.2. Essential Tools and Supplies
Besides fabric, you also prepare the right tools to make embroidery smoother and less frustrating. Below are the basics you should prepare:
- Needle: Use embroidery needles with a large eye so the thread passes through easily.
- Floss: Cotton embroidery floss is common. You can split it into strands to adjust the thickness.
- Hoop: An embroidery hoop keeps fabric tight and prevents puckering.
- Scissors: Small, sharp scissors help trim thread ends neatly.
3. Step-by-Step Guide: How to Embroider on Clothes
Learning how to embroider on clothes is simple when you follow clear steps. This guide will take you through the process from preparation to finishing, so your design looks neat and lasts longer.
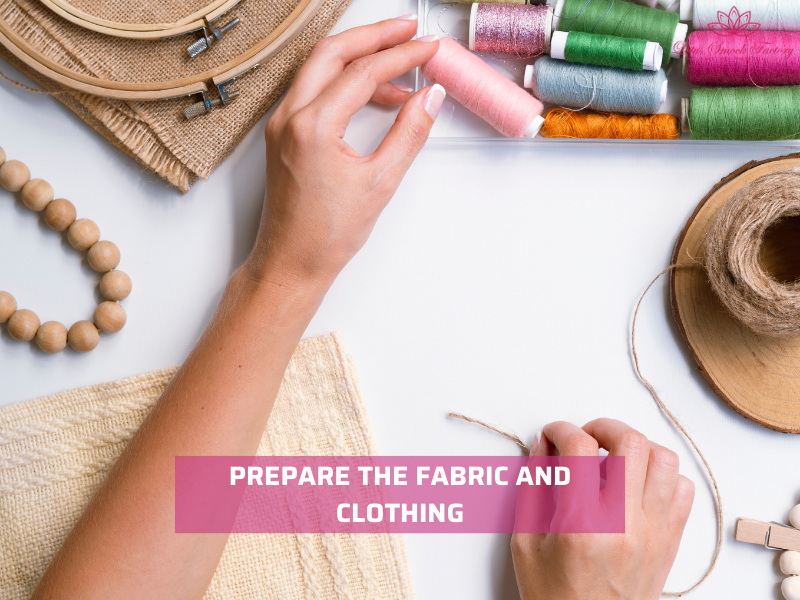
3.1. Step 1: Prepare Your Clothing
First, preparation helps your stitches sit evenly and keeps the fabric stable. Before you begin, take time to get your garment ready.
- Wash the clothing to remove dirt or chemicals.
- Iron the fabric so it lies flat and smooth.
- Mark the area where you want your design using a chalk pencil or erasable marker.
3.2. Step 2: Transfer Your Design
Once you choose a design, transfer it to your clothing so you have lines to follow with stitches. There are several simple methods:
- Tracing: Place the fabric over the printed design and trace with a washable pen. This works best on light fabrics.
- Carbon paper: Slip the paper under your design, then trace the outlines to leave a mark on the fabric.
- Water-soluble pens: Draw the design directly. The marks wash out easily after stitching.
Tips: For beginners, you should start with small floral motifs or simple letters. Avoid complex details until you feel more confident.
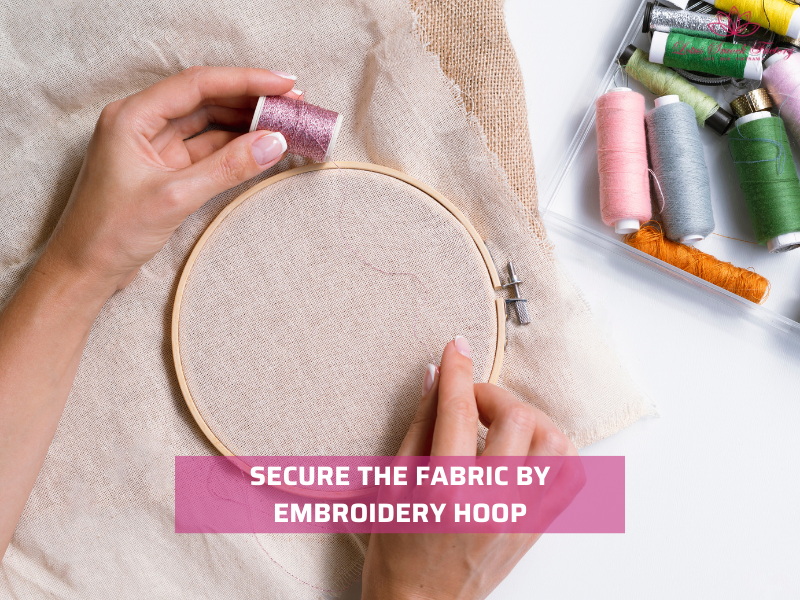
3.3. Step 3: Secure the Fabric
After that, you secure your fabric to keep stitches even. You should use an embroidery hoop. Follow the small steps below:
- Place the fabric inside the hoop.
- Tighten the screw until the surface feels firm but not overstretched.
- Smooth the fabric so there are no wrinkles.
Some people prefer to stitch directly without a hoop. It is possible, but it requires more control. If you want to try this method, read our guide on how to embroider without a hoop HERE.
3.4. Step 4: Stitch Your Design
Now it’s time to start embroidering. You focus on basic stitches that are easy to control and look good on clothes:
- Backstitch: Perfect for outlines and lettering.
- Satin stitch: Fills shapes with solid color, good for petals or bold letters.
- Chain stitch: Creates textured lines for decorative borders.
Note: Work slowly, follow your outline, and keep thread tension steady. Finish one section before moving to the next for clean results.
If you want to add small decorative details, you can use knots. A common choice is the French knot, which adds dots or accents to flowers. You can learn the method step by step in our tutorial on how to make French knots HERE.
3.5. Step 5: Finish and Secure Threads
The last, finishing neatly helps your embroidery last longer and makes the back of your garment more comfortable to wear.
- Tie off threads by weaving them under a few stitches at the back.
- Avoid bulky knots that can rub against skin.
- Trim excess thread close to the fabric.
Note: For extra durability, especially on clothes that are washed often, you can press a piece of fusible interfacing over the back of the embroidery. This protects stitches from friction and helps them stay in place.
4. Common Mistakes and How to Fix Them
Even beginners who follow the steps carefully can face problems while embroidering clothes. Here are common mistakes and practical ways to solve them.
Puckering fabric
Fabric gathers or wrinkles around the stitches. This happens when the fabric is too loose or lacks support.
=> You can fix it by adding a stabilizer behind the fabric and keeping the hoop firm but not overstretched.
Uneven stitches
Some stitches look long while others are short, making the design messy. This usually comes from rushing or not following the outline.
=> To fix it, you slow down and practice on scrap fabric. Consistent practice helps your hand movement stay steady.
Thread tangling
Long thread lengths twist and form knots while stitching. This causes frustration and can damage the fabric.
=> Prevent this by cutting floss into shorter lengths, about 35–40 cm, and letting the thread untwist often while working.
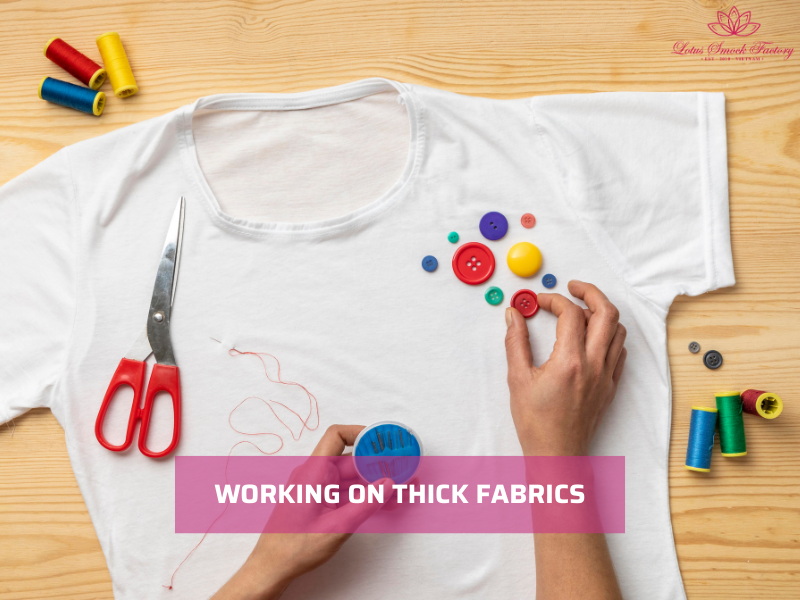
Working on thick fabrics
Jackets, sweatshirts, or heavy denim are harder to stitch and can strain the thread. Designs may not hold up well if finished carelessly.
=> To handle this, you should use sharper needles, thicker floss, and reinforce the back with stabilizer.
=>>>>> For more tips, read our guide on how to embroider a sweatshirt for durable results on heavy garments.
When you know these mistakes in advance, you can avoid wasting time and keep your embroidery looking clean. With steady practice and the right adjustments, your clothes will carry strong and attractive designs.
5. Creative Ideas for Embroidery on Clothes
Embroidery gives you many ways to personalize clothes. From small accents to bold designs, stitches can change the look of plain garments. Here are some simple ideas you can try.
Monograms on collars and cuffs
Adding initials on collars or cuffs makes shirts and blouses look personal and stylish. Backstitch works well for small letters, while satin stitch fills give bold results. Monograms are subtle but add character to workwear and boutique clothing.
Decorative borders on sleeves and hems
Simple borders can frame a garment. Try chain stitch or stem stitch along the sleeves or the bottom hem of a dress. The small flowers or geometric patterns on borders create a clean finish without overwhelming the design.
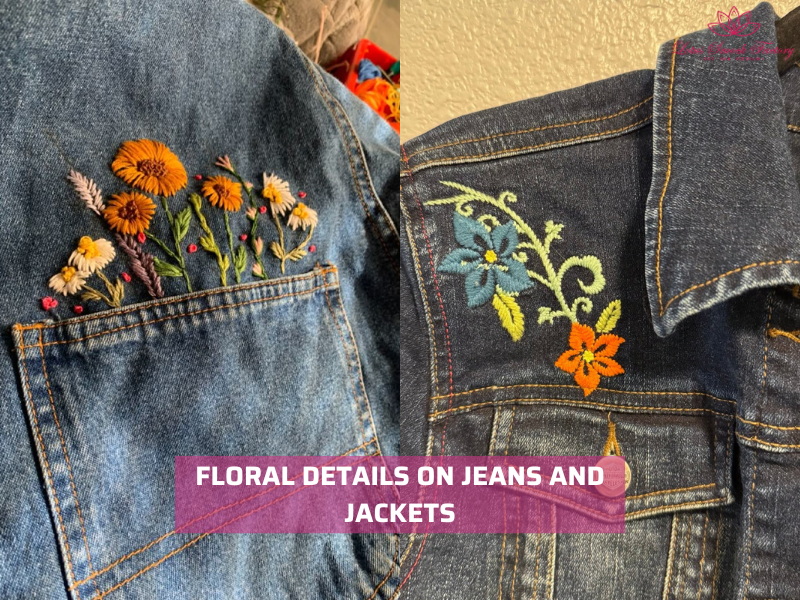
Floral details on jeans and jackets
Flowers stitched on denim look bold and fashionable. You can place small daisies in jean pockets or add roses across the back of a jacket. Larger floral designs also look good on sleeves. If you want step-by-step help, read our guide on how to embroider on denim for more tips.
6. Care and Maintenance of Embroidered Clothes
Clothes will be neat and last through many washes if you take care of your embroidery good. Clothes with stitching need gentle handling to protect both the fabric and the threads.
6.1. Washing and Ironing Embroidered Garments
You should follow the steps and tips below:
- Turn garments inside out before washing. This reduces friction and keeps stitches from rubbing against other fabrics.
- Use cold water and mild detergent. Harsh detergents can fade threads.
- Hand washing is best for delicate items, but if you use a machine, place the garment in a mesh laundry bag.
- Avoid strong spinning cycles that may pull the embroidery.
- To iron, you place the garment face down on a clean towel. Use medium heat and press on the reverse side. Always keep a thin cloth between the iron and the fabric to prevent flattening stitches.
6.2. How to Protect Stitches
Stitches can wear down over time, especially on clothes that are washed often. Adding a backing helps protect them.
- Fusible interfacing: You should apply a light piece of fusible interfacing on the back of the embroidery. Press it with an iron to cover the threads. This creates a soft layer that protects the design from friction.
- Lining: For jackets, shirts, or dresses, you can add a fabric lining behind the embroidery. This hides the back of the stitches and gives extra support.
If you use these methods, you will keep your embroidery comfortable to wear. Moreover, your clothes will stay strong after many washes.
7. FAQs
7.1. Can you embroider on stretchy fabrics?
Yes, but stretchy fabrics are harder to control. They tend to pull and distort stitches. Always use a stabilizer behind the fabric to keep it firm. Choose simple stitches, and avoid pulling the thread too tight.
7.2. Do you need a hoop for every project?
No, a hoop is not required for every project. However, it makes stitching easier because it keeps fabric tight and prevents puckering. Beginners should practice with a hoop first. More advanced stitchers may work without one for small areas or quick fixes.
7.3. How do you keep stitches from unravelling?
Secure the thread ends properly on the back. Weave them under several stitches instead of tying bulky knots. For extra protection, add fusible interfacing to the back of the embroidery. Washing inside out also helps threads stay in place.
7.4. Can embroidery be waterproofed?
Embroidery itself is not waterproof. You can spray a fabric protector to make clothes more water-resistant, but it won’t make them fully waterproof. If you want embroidery on outdoor gear, choose synthetic threads, which resist moisture better than cotton.
8. Final Words
Now you know the basics of how to embroider on clothes with simple tools and easy stitches. Start with cotton or denim, transfer your design, and practice on small areas before working on full garments. Pick one shirt, jacket, or tote bag today and begin your first design.
Lotus Smock is a brand of TAQ SERVICE TRADING DEVELOPMENT JSC. In clothing business, we’ve been crafting unique pieces for the domestic market since 2010. We prioritize the quality, so we don’t accept overly big orders. We are committed to producing high-quality products at the best prices. Recently, we have started engaging in social media and marketing to reach international customers, bringing the best products from Vietnam to friends around the world
Contact Lotus Smock at:
- Facebook: facebook.com/lotussmockfactory
- WhatsApp: +84 83 333 3498
- Youtube: youtube.com/@LotusSmockFactory