
Smocked Dress DIY: 9 Easy Steps for Beginners to Start Smocking
Smocked Dress DIY is an art form that involves making pleats and sewing fabric to create a smocked dress. Smocking is widely used in kids’ clothes and sewing trendy dresses. Whether you are an experienced tailor or a beginner, you can boost your creative abilities or take up a new hobby once you understand smocked dress DIY.
In this smocking guide, we’ll show you the basic stitches, tools preparation, common mistakes and a detailed tutorial to make your own smocked dress. Spend a little time reading the tutorial below.
1. What Is Smocking? (Smock Dress Meaning Explained)
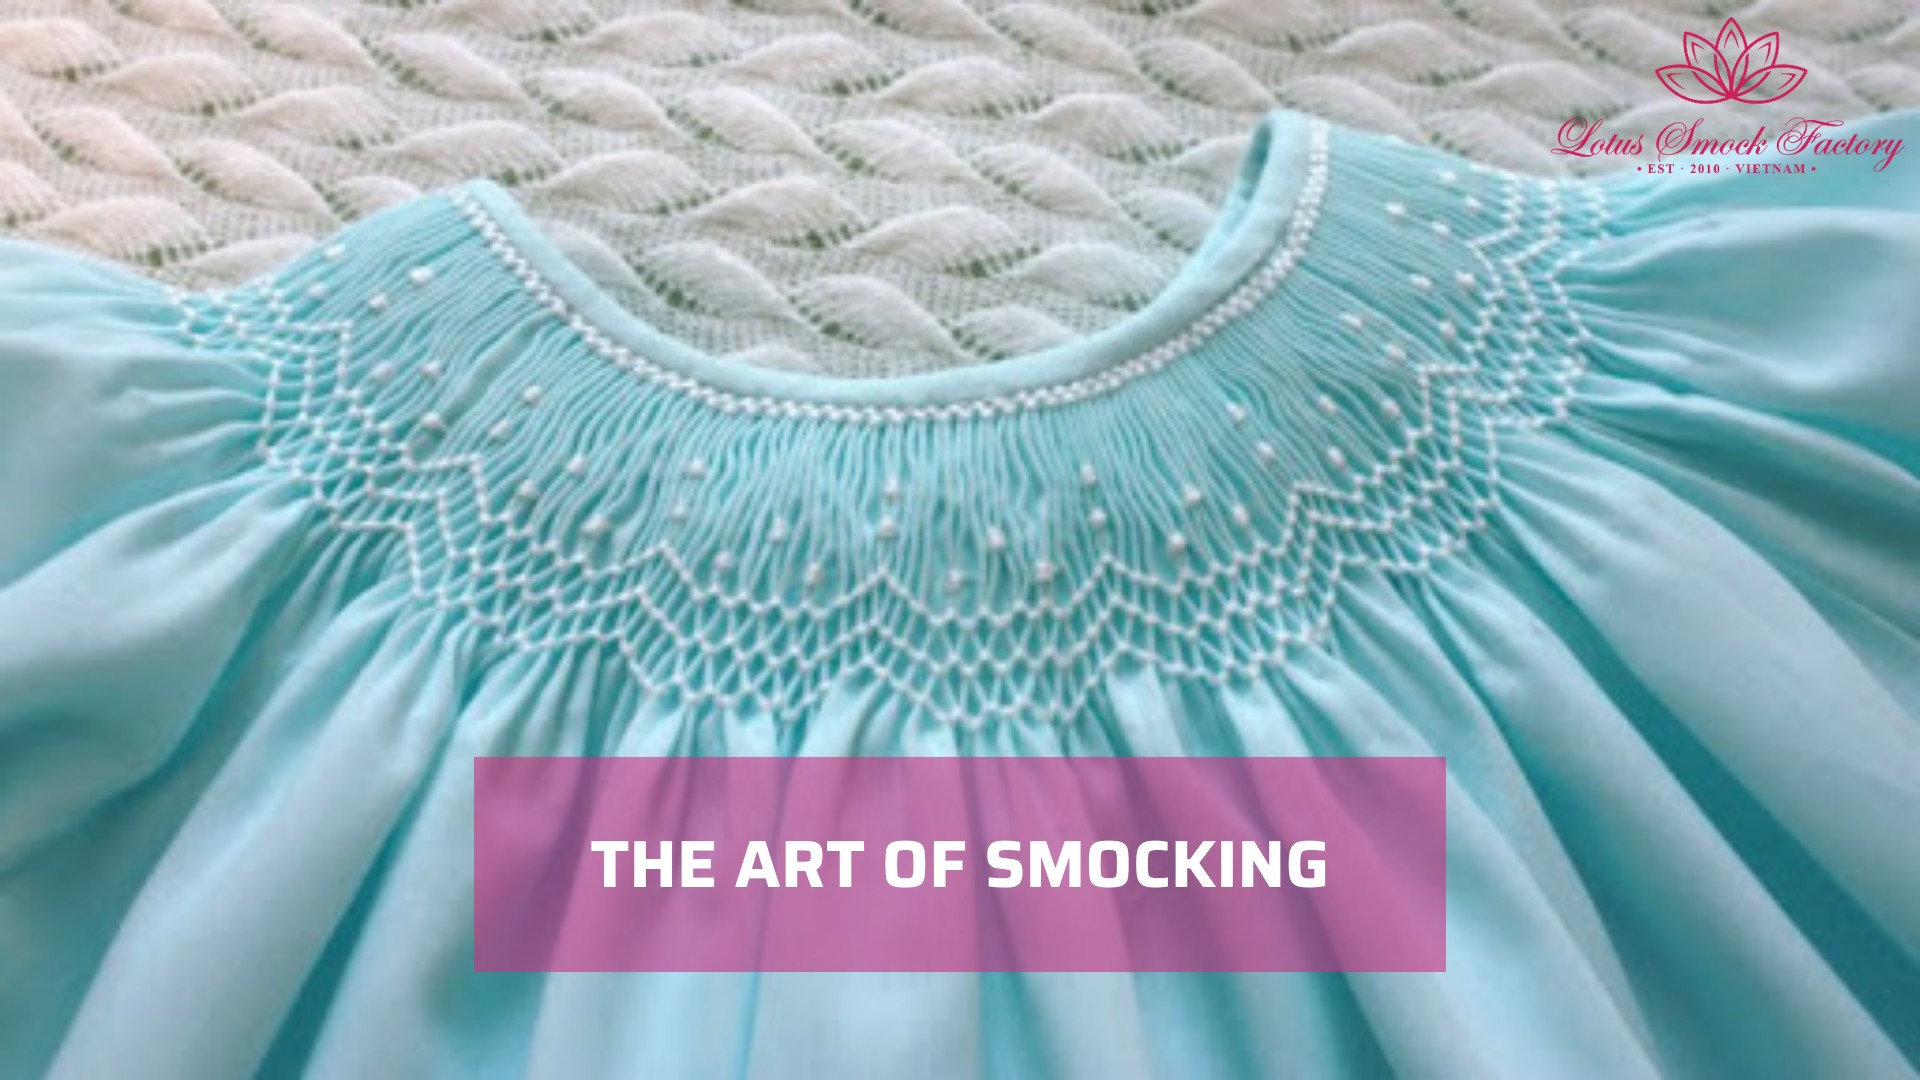
Smocking is a sewing technique that involves gathering a section of fabric into tight, even pleats and then decorating them with embroidery stitches. The embroidery method is applied in many parts of clothes, such as b0odices, waistbands, sleeves or cuffs.
A typical smock dress is characterized by a loose, comfortable fit. The smocking detail is usually embroidered on the bodice, waist, or cuffs, which helps to gather the excess fabric in those areas while allowing the rest of the dress to fall freely. Find out more about smocked dresses
Why it remains popular nowadays:
- Comfort: The smocking creates a natural elasticity, making the dress easy to pull on and off without zippers or buttons.
- Flexibility: It provides a flexible fit, often accommodating growth or changing body shapes, for which it is very common in children’s wear.
- Elegant Look: It blends a relaxed, breezy silhouette with the delicate texture of the stitched embroidery.
2. Tools & Materials You’ll Need for Smocked Dress DIY
Before starting your smocked dress DIY project, having the right tools on your hand will make the process smoother and final results more consistent. Here is all what you’ll need to prepare:
| Category | What You Need |
| Fabric |
|
| Threads |
|
| Needles |
|
| Marking Tools |
|
| Iron & Pressing Cloth |
|
| Pleater Machine (Optional) |
|
| Cutting Tools |
|
| Decorations
(Optional) |
Lace trims, decorative ribbons, buttons, or monogram frames for a boutique-quality finish. |
Having these materials ready before you start ensures your smocked dress DIY process runs smoothly from the first stitch to the final hem.
Pro Tip: The three essentials for any smocked dress DIY project: quality embroidery floss, a dot transfer sheet, and a sharp crewel needle. Get these right and everything else follows.
3. How to Make a Dress from Pre-Smocked Fabric (Fastest Way)
If you are new to smocked dress DIY or want to skip the embroidery stage entirely, using pre-smocked fabric is the quickest way to achieve a polished result with 6 easy steps below:
Step 1: Measure the Fabric
- Measure your own chest circumference and desired dress length.
- Since pre-smocked fabric is already pleated, buy fabric that is approximately 1.5–2x the finished chest width to ensure enough coverage and stretch.
- Cut the fabric to your desired dress length, adding 1.5 cm for the hem and 1 cm for the top seam allowance.
Step 2: Sew the Side Seam
- Fold the pre-smocked fabric panel with right sides together, aligning the side edges.
- Pin and sew the side seam using a straight stitch, leaving a 1 cm seam allowance.
- Press the seam open with an iron for a clean finish.
Step 3: Make the Straps
- Cut two fabric strips, each measuring approximately 4 cm wide × 40 cm long (adjust length based on the wearer’s size).
- Fold each strip in half lengthwise with right sides together and sew along the long edge.
- Turn the straps right side out and press flat with an iron.
Step 4: Attach the Straps
- Try the dress on (or use a dress form) to determine the ideal strap placement.
- Pin each strap to the inside top edge of the dress front and back.
- Sew securely in place, reinforcing with a back-stitch for durability.
Step 5: Hem the Dress
- Fold the bottom edge of the dress up by 0.5 cm, press, then fold again by 1 cm and press.
- Sew along the folded hem using a straight stitch close to the inner fold.
Step 6: Final Touches
- Your smocked dress DIY piece is now complete. Trim any loose threads and give the entire dress a final press with an iron.
Optional: add a small bow, button, or ribbon detail at the neckline or strap junction for a finishing touch.
=>>> Read More: How to Smock Fabric on a Sewing Machine: Step-by-Step Guide for Beginners
4. How to Make a Smocked Dress from Scratch: Step-by-Step Guide
Making a smocked dress from scratch takes more time than using pre-smocked fabric, but it gives you full control over the embroidery pattern, fabric choice, and garment structure. Follow the steps below for a complete beginner-friendly smocked dress DIY project:
Step 1: Mark the Dots
- Lay your fabric flat on a clean surface, wrong side up.
- Use a smocking dot transfer sheet or a ruler and fabric marker to mark an evenly spaced grid of dots across the area you want to smock.
- Standard spacing is 6 mm × 6 mm for fine smocking or 1 cm × 1 cm for a bolder, more open look.
Step 2: Sew the Gathering Rows
- Thread a needle with a strong gathering thread and use a different color from your embroidery floss so it is easy to identify and remove later.
- Starting at the first dot in each row, pick up a small stitch at every dot across the row.
- Leave a long thread tail at both ends of each row, but do not knot the thread.
- Repeat for all rows across the smocking area.
Step 3: Create Pleats
- Once all gathering rows are sewn, hold the thread tails at one end of each row together and gently pull them simultaneously.
- Ease the fabric into tight, even pleats as you pull, working slowly to avoid bunching unevenly.
- Once the pleated width matches your desired smocked panel width, tie off the thread tails in pairs to secure the pleats in place.
- Distribute the pleats evenly with your fingers before moving on to stitching.
Step 4: Smocking Stitches Tutorial
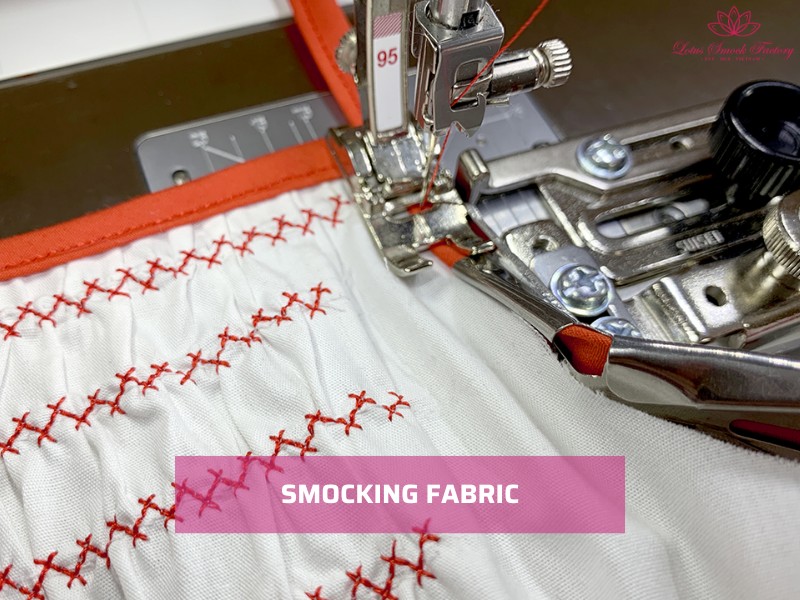
Once your pleats are secured, it’s time to stitch. Smocking stitches are sewn across the gathered pleats by hand, connecting pleat to pleat to create the decorative panel. Below are the most common stitches used in smocked dress DIY, from easiest to most advanced:
- Cable Stitch: The most beginner-friendly stitch. Creates a firm, structured panel with a clean horizontal line, the best starting point for first-time smockers.
- Wave / Chevron Stitch: A classic zigzag pattern worked diagonally across pleats. Popular for bodices and children’s dresses.
- Outline Stitch: A simple running stitch used to divide or border other stitch patterns.
- Honeycomb Stitch: Creates a stretchy, elastic panel, which is ideal for children’s wear where ease of movement matters.
- Trellis Stitch: Produces a diamond pattern commonly seen in heirloom smocking.
How to sew a Cable Stitch (easiest stitch to start with):
- Thread your needle with embroidery floss and knot the end.
- Bring the needle up through the first pleat on the left side of the panel.
- Hold the thread above the needle and stitch through the next pleat.
- On the next pleat, hold the thread below the needle and stitch through.
- Continue alternating above and below across the row, keeping tension even throughout.
- Finish by securing the thread with a small knot on the wrong side of the fabric.
Pro Tip: Keep your thread tension consistent, not too tight, not too loose. The smocked panel needs to retain its natural stretch after the gathering threads are removed.
Step 5: Remove Gathering Threads and Block
This is one of the most important steps in any smocked dress DIY project.
- Once all smocking stitches are complete, carefully remove the gathering threads by pulling them out row by row.
- Lightly mist the smocked panel with water and press gently with an iron on a low-heat setting.
- Do not press directly on the embroidery, hover the iron above or use a pressing cloth to protect the stitches.
- Allow the panel to dry flat to set the shape.
Step 6: Sew the Dress Body
- Cut the remaining fabric panels for the dress skirt and lining according to your pattern measurements.
- Attach the smocked bodice panel to the skirt section by sewing along the bottom edge of the smocked panel, right sides together.
- Sew the side seams of the full dress, pressing seams open after stitching.
Step 7: Add Straps or Sleeves
For straps: Follow Steps 3 and 4 from the pre-smocked method above.
For sleeves:
- Cut two sleeve panels according to your chosen pattern.
- Sew a gathering stitch along the sleeve cap, pull to ease the fabric, and attach to the armhole opening.
- Sew the sleeve and side seams in one continuous seam for a clean finish.
- Hem the sleeve ends with a narrow double-fold hem.
Step 8: Hem the Dress
- Fold the bottom edge up by 0.5 cm, press, then fold again by 1 cm and press.
- Sew the hem using a straight stitch close to the inner fold for a neat, professional finish.
Step 9: Final Touches
- Trim all loose threads and press the entire dress carefully.
- Add any finishing details, such as a sash, buttons, ribbon trim, or a Peter Pan collar to complete smocked dress DIY.

=>>> Read More: How Do You Smock Fabric? A Step-by-Step Guide for Beginners
5. Common Mistakes in Smocked Dress DIY (And How to Fix Them)
Even experienced tailors run into problems with smocked dress DIY. Here are the five most common mistakes and how to correct them:
| Mistake | Why It Happens | How to Fix It |
| Uneven pleats | Inconsistent dot spacing or pulling gathering threads unevenly |
|
| Smocking panel too tight | Pleats pulled too close together before stitching |
|
| Thread bleeding onto fabric | Low-quality embroidery floss is not colorfast |
|
| Smocking loses elasticity after washing | Gathering threads left inside the garment | Always remove all gathering threads completely before wearing or washing |
| Puckered neckline or hem | Inadequate pressing during or after sewing | Use a damp pressing cloth and press each seam immediately after sewing |
Avoiding these mistakes before beginning will save you significant time and materials throughout your smocked dress DIY process.
6. Smocked Dress DIY: Pattern Ideas & Resources With Lotus Smock
Not sure where to find smock dress patterns or ideas for your next smocked dress DIY project? Here are the most reliable resources for beginners and experienced embroiderers alike:
- Pinterest: A go-to visual reference for popular smocked dress models, color palettes, and creative ideas. Create a mood board before you begin.
- YouTube: Search “smocking tutorial for beginners” for free video guides of basic stitches and full dress construction.
- Etsy: A wide range of downloadable smock dress patterns in various sizes, from newborn to adult. Search “smocked dress PDF pattern” for the most relevant results.
- Local fabric and craft stores: Many offer printed smocking dot transfer sheets, pattern booklets, and starter kits that are ideal for first-time sewists.
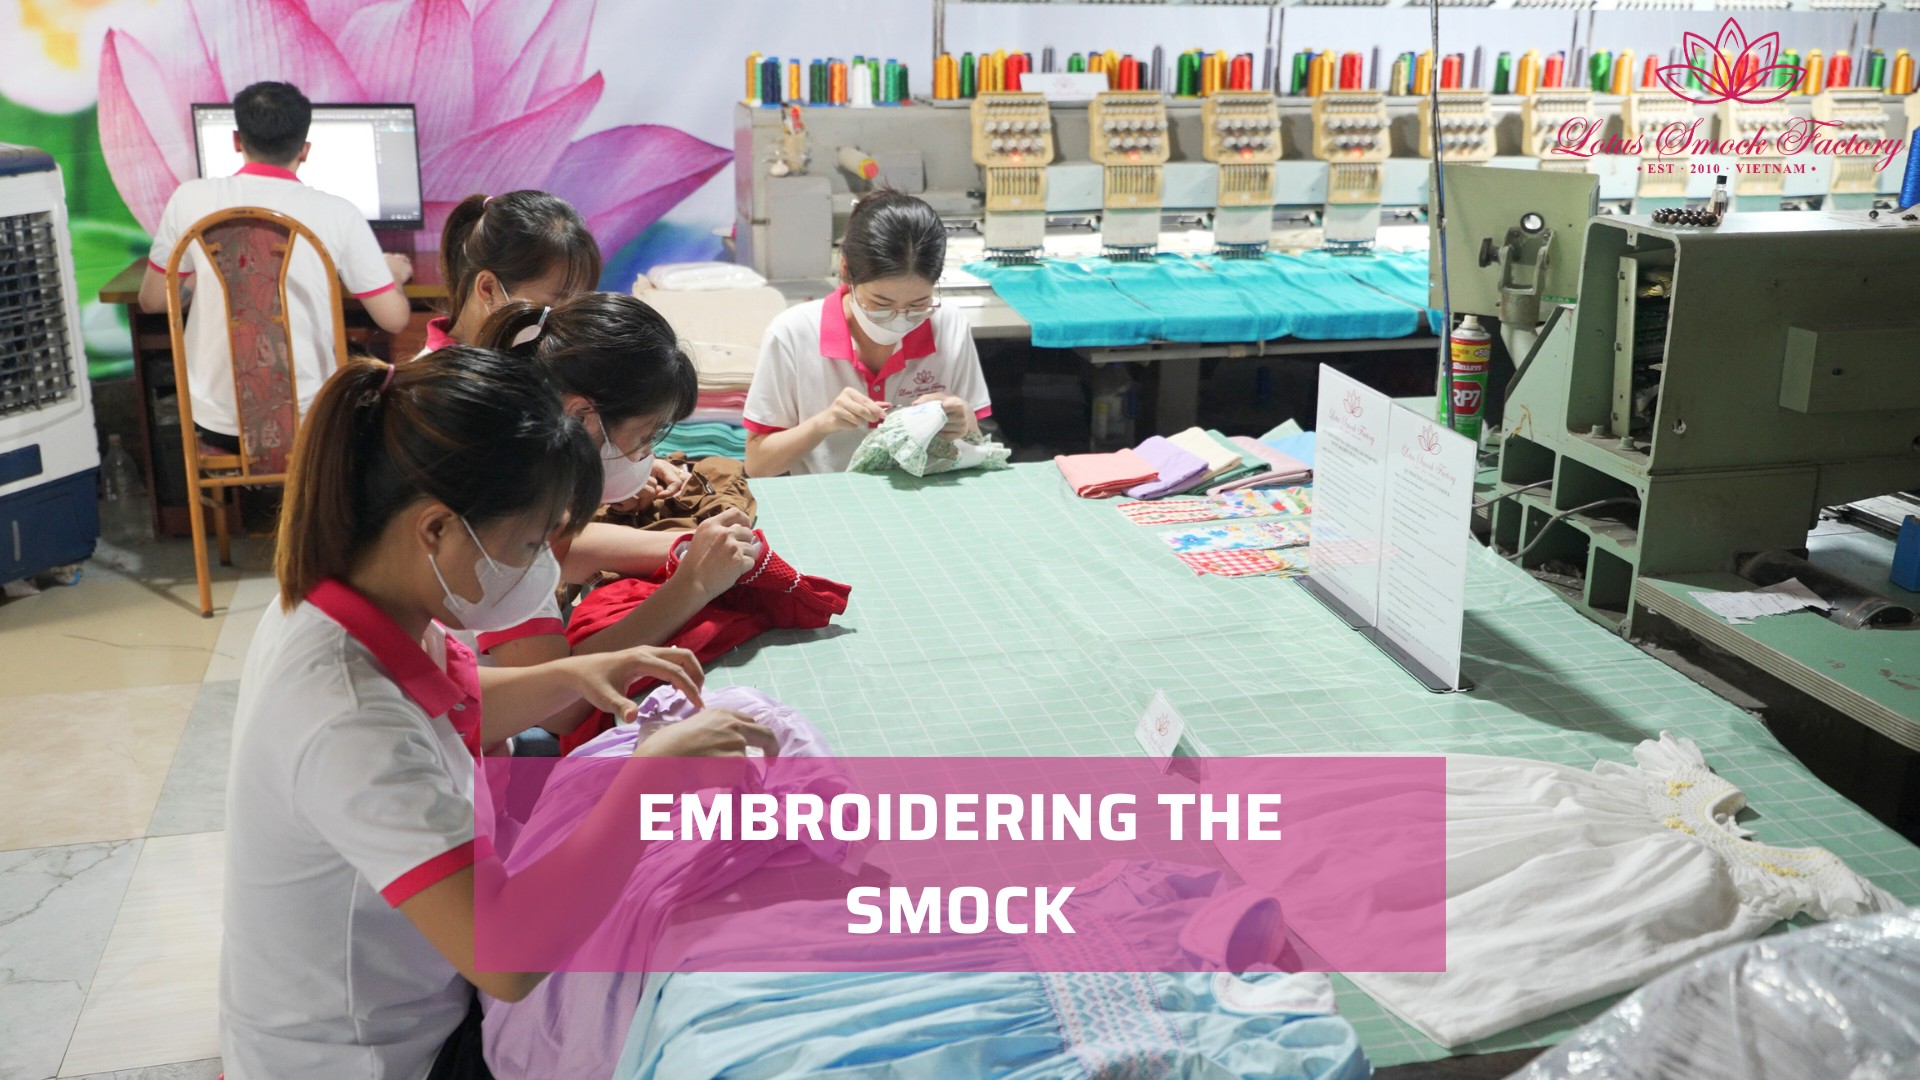
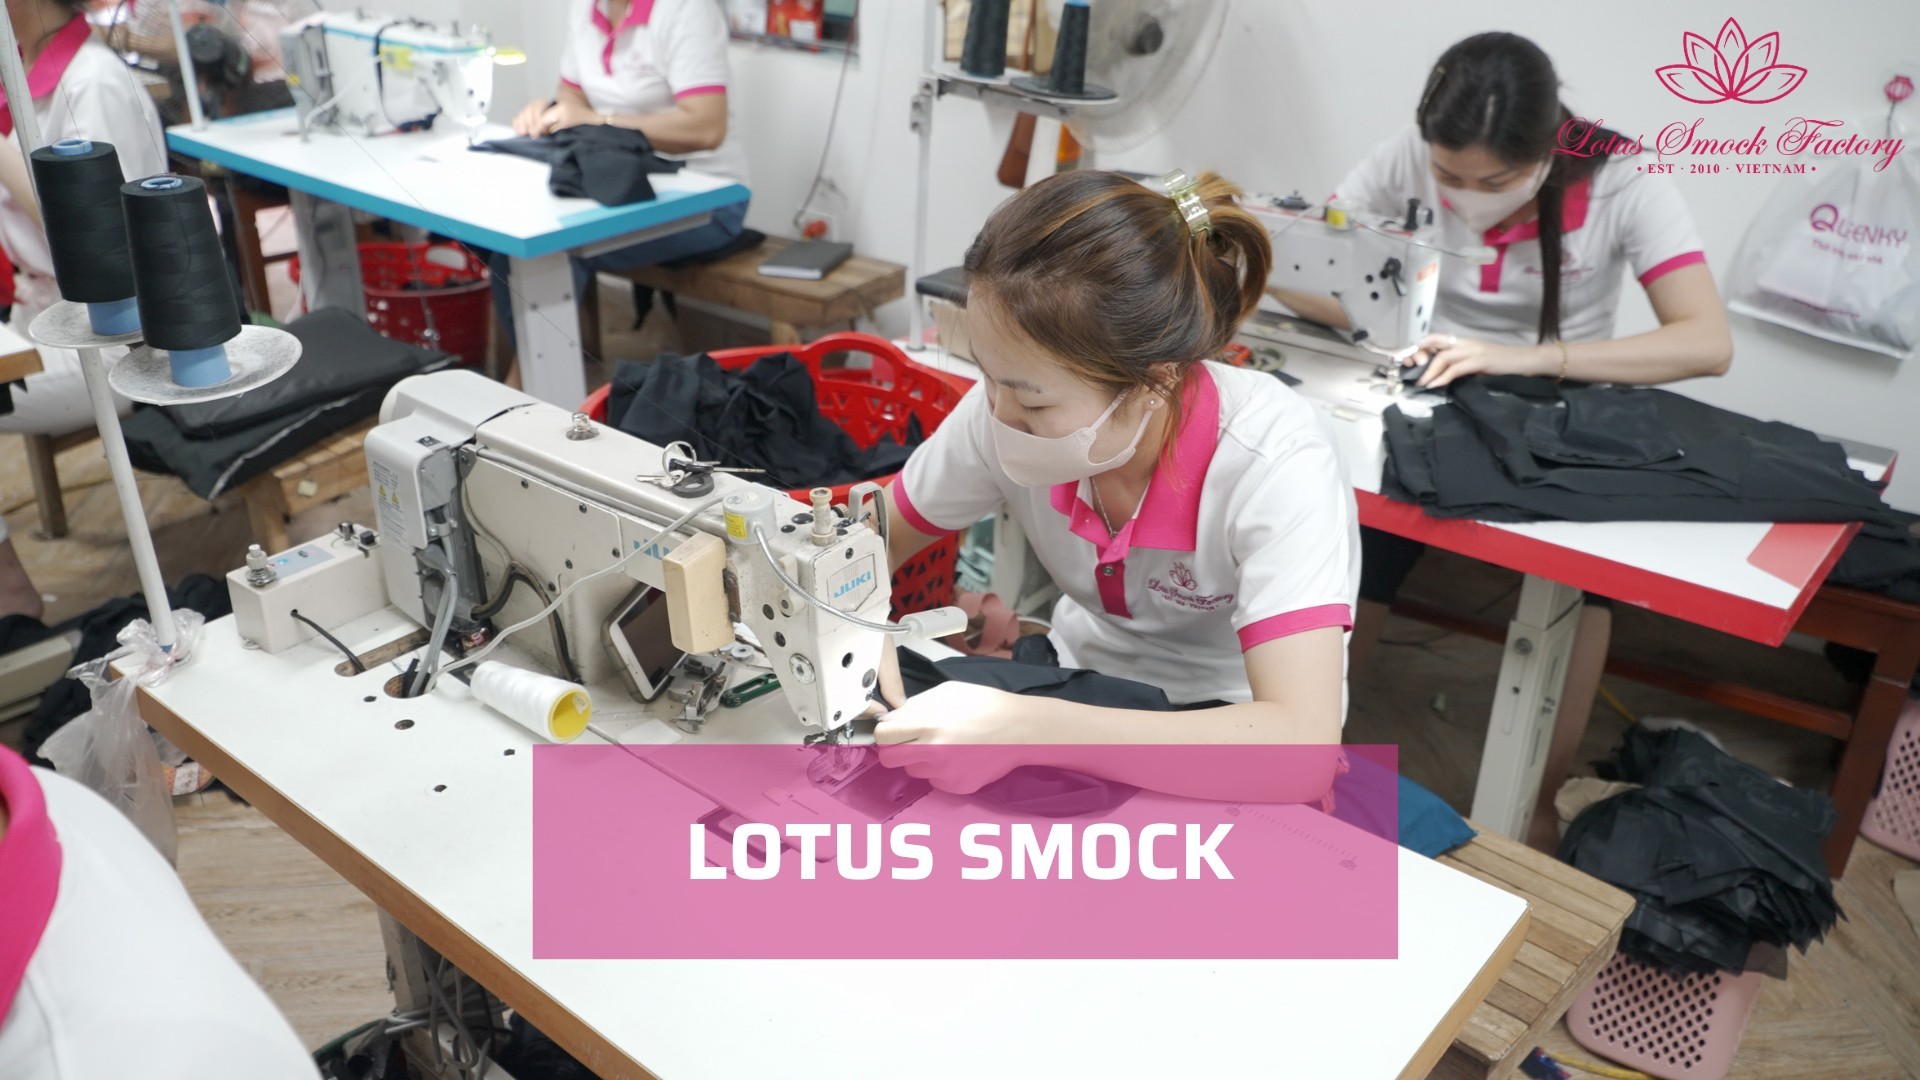
- Lotus Smock: A trustworthy smocking factory specializing in hand-smocked children’s dresses. Beyond a wholesale supplier, Lotus Smock provides pattern ideas, embroidery guidance, and seasonal style trends. Browse our blog for smocked dresses DIY inspiration or reach out directly for design consultation.
Contact Lotus Smock at:
- Facebook: facebook.com/lotussmockfactory
- WhatsApp: +84 83 333 3498
- Youtube: youtube.com/@LotusSmockFactory
7. FAQ About Smock Dress DIY
While working on your smocked dress DIY project, you may encounter several common problems, such as types of fabric or smocking stitches. Below are the most frequently asked questions with clear answers and instructions:
Q1: Which smocking stitch is most beginner-friendly?
When starting any smocked dress DIY project, the cable stitch is widely considered the easiest smocking stitch for beginners. It requires only a basic over-and-under motion across the pleats and creates a clean, structured panel that is easy to keep even.
Q2: What is the difference between a smocked dress and a shift dress?
A shift dress is a straight, loose-fitting garment with no defined waistline and minimal structure. A smocked dress, by contrast, features gathered, embroidered panels typically at the bodice, waist, or cuffs that create shape and elasticity.
Q3: Can beginners make a smocked dress?
Yes, especially using pre-smocked fabric, which eliminates the gathering and embroidery stages. For complete beginners, starting with a pre-smocked fabric dress (Section 3 of this guide) is the most accessible entry point into smocked dress DIY.
Q4: What fabric is best for smocked dresses?
100% cotton and cotton voile are the most recommended fabrics for smocked dresses. Both pleat cleanly, hold embroidery stitches well, and are gentle on skin. Avoid synthetic fabrics for your first project, as they are more difficult to pleat and press evenly.
Q5: How long does it take to make a smocked dress?
The time required for a smocked dress DIY depends heavily on the method chosen. A dress made from pre-smocked fabric can be completed in 2–4 hours. Making a smocked dress from scratch that includes marking, gathering, stitching, and construction typically takes 8–15 hours for a beginner, spread across multiple sessions.
8. Final Words
Smocked dress DIY is one of the most thrilling sewing projects you can take on whether you are making a simple garment for children, exploring a new creative hobby, or developing skills that connect you to a centuries-old textile tradition. With the right tools, a little patience, and the step-by-step guidance in this blog, even a first-time sewist can produce a beautiful result.
Start with pre-smocked fabric for easy dress construction, then work your way up to smocking from scratch as your skills grow. The stitches take practice, but the results are definitely worth the effort.