How To Iron on an Iron-On Patch: Easy Guide for Beginners
How to iron on an iron-on patch is a question many people ask when they want to fix clothes or add style without sewing. An iron-on patch has a heat-activated adhesive that bonds to fabric when pressed with an iron. You only need a few tools and the right steps to make it last. In this guide, you will learn how to apply a patch neatly, avoid peeling, and keep it secure after washing. Keep reading to get a clear step-by-step method.

1. How to Iron on an Iron-On Patch for a Quick & Stylish Fix
Iron-on patches give you a simple way to update or repair clothes without sewing. They stick with heat and stay in place when applied correctly. If you wonder why they are popular, the reasons are clear:
- Affordable customization: You can add style to jackets, jeans, or bags without buying new items. No sewing skills are needed.
- Practical use: Patches work not only for fashion but also for fixing small holes or adding a brand logo.
- Wide selection: You will find embroidered, printed, and textured patches in many sizes and colors. There is a style for almost every look.
- Quick process: You only need an iron, a flat surface, and a few minutes to apply a patch.
Expert Tip: We recommend that you test placement before ironing. Use a small piece of masking tape to hold the patch in place. This avoids last-minute mistakes and helps you get the alignment right the first time.
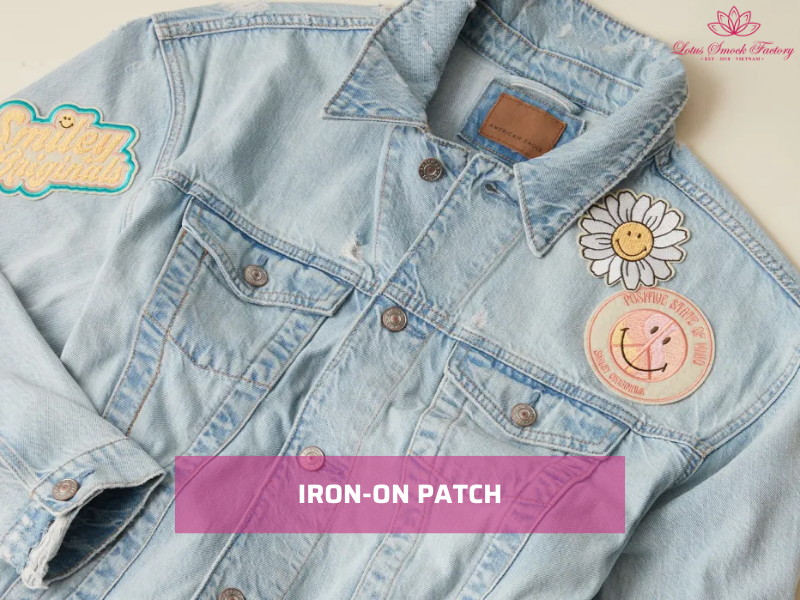
2. Understanding Iron-On Patches
Iron-on patches are one of the easiest ways to decorate or repair fabric. They are backed with a heat-activated adhesive that bonds to the surface when pressed with an iron. Once applied, the glue creates a durable hold that keeps the patch in place through regular wear.
2.1. What Is an Iron-On Patch?
An iron-on patch is a piece of fabric or embroidery with a layer of heat-sensitive glue on the back. When you apply heat and pressure, the glue melts and adheres to the garment.
This makes it simple to attach without sewing. Many patches also allow you to add stitching around the edge for extra security.
2.2. Types of Iron-On Patches
Not all patches look or feel the same. The most common types include:
- Embroidered patches: Made with raised stitching for a classic look. These work well on denim jackets and uniforms.
- Printed fabric patches: Flat designs that use printed graphics. They are lighter and blend well with casual clothes.
- Chenille and textured patches: Thick, fuzzy designs often used on varsity jackets. They stand out but may need extra stitching for long-term wear.
2.3. Best Fabrics for Iron-On Patches
The success of your patch depends on the fabric you apply it to.
- Cotton and denim: These hold patches firmly and withstand the heat needed for adhesion. They are the most reliable choices.
- Avoid nylon, leather, or waterproof fabrics: The adhesive does not bond well with slick or coated materials. If you want to use a patch on these, you must sew it or use special fabric glue.
3. Step-by-Step: How to Iron on an Iron-On Patch
Applying an iron-on patch may sound simple, but small mistakes can cause the patch to peel or fall off after only a few washes. The key is careful preparation, correct heat, and steady pressure. Follow this detailed step-by-step guide to get a patch that looks neat and lasts long.
3.1. Step 1: Gather Your Materials
Before starting, make sure you have all the right tools at hand. Missing one item can affect the result.
- Iron-on patch: Choose a patch with heat-activated adhesive backing.
- Iron (dry setting, no steam): Steam weakens the glue, so always use the dry setting.
- Ironing board or hard, heat-resistant surface: A firm base is critical. Soft or uneven surfaces will prevent even pressure.
- Thin pressing cloth: A clean cotton handkerchief, pillowcase, or tea towel works well.
Pro Tip: If you don’t have a pressing cloth, use parchment paper. Never press the iron directly on the patch, as it can melt threads or ruin the design.
3.2. Step 2: Prepare the Fabric
Fabric preparation is one of the most overlooked steps, yet it has a direct impact on adhesion.
- Wash and dry the garment first. This removes any factory sizing, dirt, or body oils that can block the adhesive. Skip fabric softener, as it leaves a coating that prevents bonding.
- Iron the application area until it’s smooth. Wrinkles or folds create gaps where the glue won’t stick.
- Place cardboard inside the garment (especially for shirts, jackets, or tote bags). The cardboard prevents glue seep-through and keeps the patch from accidentally bonding to the back layer.
Pro Tip: If you’re working with thick fabrics like denim, double-check that the ironed area is completely flat before you place the patch. A wrinkle under denim is nearly impossible to fix later.
3.3. Step 3: Position the Patch
Correct placement saves you from an off-center or crooked patch.
- Lay the garment on the ironing board and smooth it flat.
- Place the patch in the exact spot you want. For jackets or uniforms, measure from the seams to ensure evenness.
- Secure with heat-resistant tape if you’re worried about movement.
- Double-check orientation. Text patches or logos should face the correct way before you apply heat.
Pro Tip: Stick the patch with masking tape or painter’s tape, then step back and look in a mirror. Misalignment is one of the most common mistakes, and tape helps you avoid it.
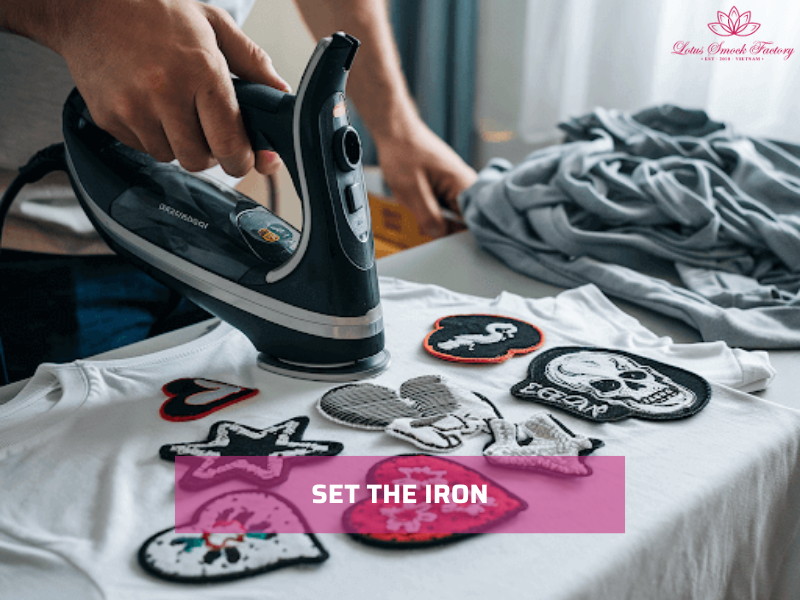
3.4. Step 4: Set the Iron
The correct temperature is essential. Too hot, and you risk scorching the fabric. Too low, and the patch won’t stick.
- Set the iron to medium-high, usually labeled “cotton” on most irons.
- Turn off steam completely: heat should be dry.
- Preheat the iron for 5 minutes. This ensures stable and even heat before you begin pressing.
Pro Tip: If you’re working with delicate fabrics like polyester blends, lower the heat slightly and press longer. Always check the garment care label before choosing the setting.
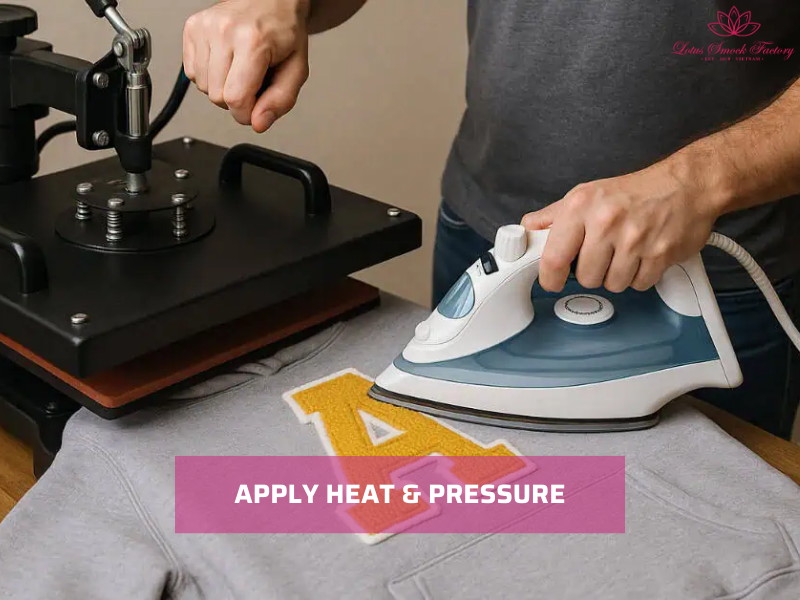
3.5. Step 5: Apply Heat & Pressure
This is the most important step, where the glue bonds to the fabric.
- Cover the patch with the pressing cloth. This prevents direct iron contact, which could burn threads or leave shiny marks.
- Place the hot iron on top of the cloth and press firmly. Use your body weight for even pressure.
- Hold for 15–30 seconds without moving or sliding. Sliding may cause the patch to shift and create uneven bonding.
- Lift the iron, reposition if needed, and press again until the whole patch area has been heated evenly.
Pro Tip: For larger patches, work in sections. Press one part firmly, then move to the next. Overlapping your heat zones makes sure the glue melts across the entire patch.
Step 6: Let It Cool
Cooling allows the adhesive to set properly. Skipping this step can cause lifting later.
- Keep the garment flat and still for 1–2 minutes.
- Do not stretch, fold, or wear the garment immediately.
- Once cooled, the glue should feel solid and the patch should sit firmly on the fabric.
Pro Tip: If you’re attaching patches on thick denim or jackets, let it cool under a heavy book or flat object. Extra weight helps the adhesive cure better.
Step 7: Test the Edges
Final checks prevent surprises after the first wash.
- Gently lift the pressing cloth and run your fingers along the patch edges.
- If you notice any corner lifting, cover with the cloth again and press firmly for another 10–15 seconds.
- Re-check after it cools again.
Pro Tip: Even if the patch sticks well, sewing a few quick stitches around the edge will extend its life. Many experts combine ironing with stitching for long-lasting wear.
=>> Read more: How to Make Your Own Embroidery Patches
4. Common Mistakes to Avoid
Even though ironing on a patch looks easy, small mistakes can make the patch peel off after the first wash. Here are the errors you need to avoid:
- Using steam: Steam adds moisture that stops the adhesive from melting properly. Always use a dry iron with the steam function turned off.
- Applying on dirty or wrinkled fabric: Dust, oil, or even fabric softener can block adhesion. Wash and dry the garment before applying, then iron the surface flat.
- Not enough heat or pressure: The glue needs strong, steady heat to bond. Press firmly with your iron for the full 15–30 seconds. Don’t just “tap” the surface.
- Ironing too quickly: Sliding the iron or moving too fast leads to uneven coverage. Place the iron still and let it sit on each section.
- Missing full coverage: Larger patches need multiple presses. Overlap heat zones to make sure the entire patch bonds, especially at the edges.

Tip: If your patch starts peeling at the corners, it’s often because of one of these mistakes. Re-press with a cloth and more pressure to fix it.
5. How to Make Your Patch Last Longer
A patch can look great on day one but peel off after a few washes if you don’t care for it correctly. If you want to make your patch last longer, follow these steps:
- Wash inside-out in cold water: Turning garments inside-out protects the patch from friction and hot water, which weakens glue.
- Air dry or tumble dry low: High heat breaks down the adhesive. Air drying is the safest method. But if you use a dryer, keep it on a low setting.
- Consider stitching the edges: Even iron-on patches benefit from sewing. A simple hand stitch or quick machine stitch around the perimeter adds strength.
Expert Recommendation: Many textile specialists recommend always adding a stitch after ironing. Tests show that stitching increases a patch’s lifespan by at least 50%. If you want your patch to survive heavy wear (like on jeans, jackets, or backpacks), combine ironing with stitching for the best results.
6. FAQs
6.1. Q: Can I iron patches onto polyester?
Yes, but you need extra care. Polyester melts under high heat, so set your iron to a medium setting and always use a pressing cloth between the iron and the patch.
Hold the iron for a shorter time (10–15 seconds) and check the fabric often. For better durability, combine ironing with a few stitches around the edge, since polyester is less absorbent than cotton or denim.
6.2. Q: How do I remove an iron-on patch?
You can remove a patch with heat. Place a thin cloth over the patch and press with a hot iron until the glue softens. Then gently peel off the patch with tweezers.
Some residue may remain on the fabric, which you can clean with rubbing alcohol or a commercial adhesive remover. Be careful with delicate fabrics, as high heat or chemicals can damage them.
6.3. Q: Will it work on hats or backpacks?
Yes, iron-on patches can work on hats and backpacks, but the process is trickier. These items are often made of curved or thick surfaces that don’t press flat on an ironing board.
Use a hard, heat-resistant surface inside (like a small board or piece of cardboard) to create even pressure. Because hats and backpacks get heavy wear, it’s smart to also sew the patch for extra strength.
6.4. Q: Can I reuse an iron-on patch after removal?
Usually no. Once the heat-activated glue has melted and bonded, it loses most of its sticking power when removed. You can reapply the patch, but it won’t hold well with ironing alone. If you want to reuse it, sewing is the best option. Stitching the patch onto a new garment will give it a second life.
7. Final Words
Now you know how to iron on an iron-on patch the correct way. With clean fabric, steady heat, and a few extra care steps, your patch will stay in place and look professional. Try the method today and give your clothes, bags, or jackets a new look in just minutes. If you want your patch to last even longer, add a quick stitch around the edges after ironing.
Lotus Smock is a brand of TAQ SERVICE TRADING DEVELOPMENT JSC. In clothing business, we’ve been crafting unique pieces for the domestic market since 2010. We prioritize the quality, so we don’t accept overly big orders. We are committed to producing high-quality products at the best prices. Recently, we have started engaging in social media and marketing to reach international customers, bringing the best products from Vietnam to friends around the world.
Contact Lotus Smock at:
- Facebook: facebook.com/lotussmockfactory
- WhatsApp: +84 83 333 3498
- Youtube: youtube.com/@LotusSmockFactory