How Do You Embroidery? A Beginner-to-Expert Guide
How do you do embroidery? It is the art of using a needle and thread to decorate fabric with stitches, patterns, or pictures. People often use embroidery to add style to clothes, create handmade gifts, or turn plain fabric into something special. Learning embroidery may look difficult at first, but with the right steps, anyone can start. You only need simple tools like fabric, a needle, and thread. Then you follow easy stitches to build your design.
In this guide, we will learn clearly how to do embroidery from the first stitch to advanced techniques for beginners.
1. What Is Embroidery?
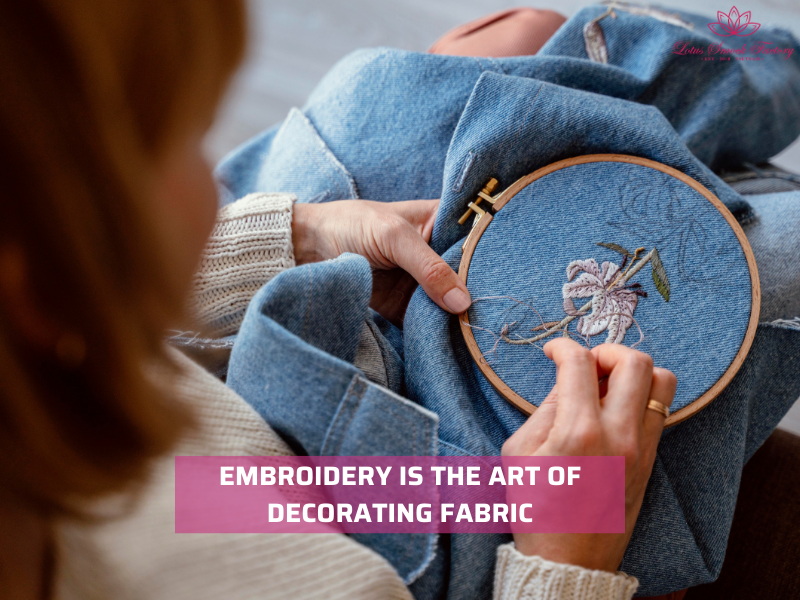
Embroidery is the art of decorating fabric with needle and thread or yarn. You use stitches to add lines, shapes, or patterns that bring texture and color to cloth. The craft has existed for thousands of years and appears in many cultures, from hand-stitched garments to religious textiles.
Today, embroidery can be done by hand or machine, but the idea is the same: turn plain fabric into something more expressive.
Modern embroidery has many uses:
- Fashion embellishment: adding flowers, logos, or motifs to clothes and accessories.
- Home décor: decorating table linens, pillows, or wall art.
- Monograms: personalizing towels, bedding, or gifts with initials.
- Branding: placing business names or symbols on uniforms, hats, and bags.
The skill remains in demand because it combines practicality and creativity. People often use embroidery for personal projects, small businesses, and large-scale production. Whether you want to repair, customize, or create new designs, knowing embroidery gives you a tool that never goes out of style.
2. Tools & Materials You’ll Need
Before you start embroidery, you need the right tools. The basics are simple, and most supplies are easy to find. Choosing the correct materials helps your stitches look neat and last longer.
Fabric Selection
For beginners, stable fabrics are easiest:
- Cotton: smooth, soft, and easy to stitch through.
- Linen: durable with a natural texture.
- Calico: budget-friendly and widely available.
Try to avoid tricky fabrics at first:
- Stretch knits can pull and distort stitches.
- Very sheer fabrics may tear or show knots on the back.
Tips: Before stitching, you should wash and iron your fabric to remove any finish. This prevents shrinkage and makes the surface smooth for embroidery.
Threads & Floss
Most embroidery uses stranded cotton floss. You can separate the strands to make fine or bold lines. Other options include:
- Silk thread: smooth and shiny, good for luxury projects.
- Metallic threads: eye-catching but harder to manage.
Tips: You should choose thread thickness based on your design. More strands create bold stitches, fewer strands give delicate details.
Needles & Hoops
Embroidery needles have a larger eye than sewing needles to fit thicker floss. Sizes range from fine (for one or two strands) to larger (for wool or multiple strands).
Embroidery hoops hold the fabric tight while you stitch. It keeps tension even, so your design stays flat and clean.
Additional Essentials
A few more items make embroidery easier:
- Sharp scissors for clean thread cuts.
- Fabric markers or pencils to sketch designs.
- Stabilizers for delicate or stretchy fabrics.
- Thimbles to protect your fingers on thick materials.
With these tools ready, you can begin embroidery with fewer mistakes and more confidence.
3. Step-by-Step: How Do You Do Embroidery?
If you are new to embroidery, following a clear process helps you learn faster and avoid mistakes. Below is a detailed step-by-step guide that takes you from design to a finished piece.
3.1. Step 1: Choose Your Design
Start with a simple project so you don’t feel overwhelmed. You can use pre-printed patterns, transfer sheets, or draw directly on fabric.
Options include:
- Pre-printed patterns: These are ready-made outlines, perfect for beginners.
- Transfer designs: Use tracing paper or water-soluble pens to move designs onto fabric.
- Freehand drawing: Sketch directly on the fabric if you want a personal style.
Tip: If you want to try embroidery letters, choose clear fonts at first. Letters with simple strokes are easier to stitch and help you practice neat lines. You can also follow our tutorial on how to embroider letters for more detail.
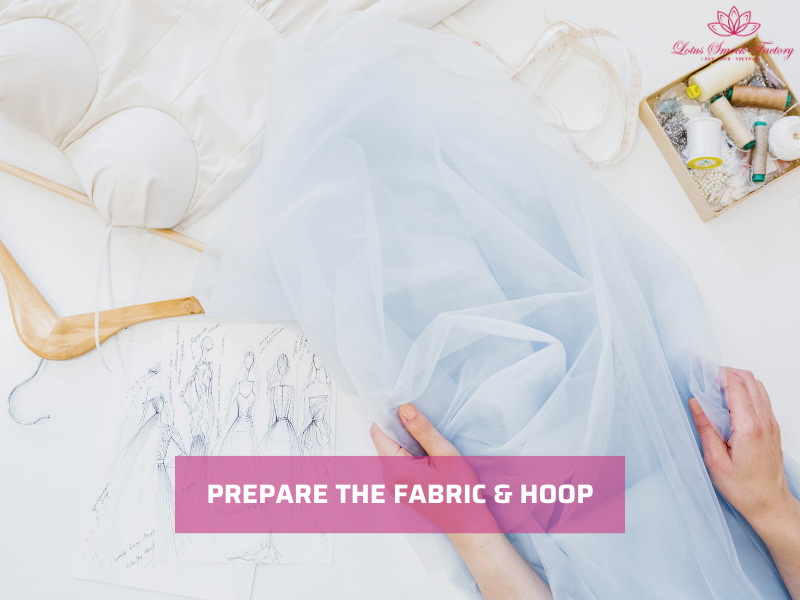
3.2. Step 2: Prepare the Fabric & Hoop
Proper fabric prep makes stitching smoother and cleaner.
- Wash and iron the fabric: Removing sizing or wrinkles keeps the design flat.
- Place fabric in a hoop: Adjust the screw so the material is tight but not overstretched. A well-set hoop keeps stitches even.
- Mark your design: Use a water-soluble pen or chalk so the guide lines can be removed later.
3.3. Step 3: Thread the Needle
Threading may feel tricky at first, but it gets easier with practice.
- Cut floss length: Keep it around 35–40 cm. Longer threads tangle quickly.
- Split strands if needed: Standard embroidery floss has six strands. Use fewer for delicate details, more for bold fills.
- Insert into the needle: Pinch the floss and push through the eye. A needle threader can help if you struggle.
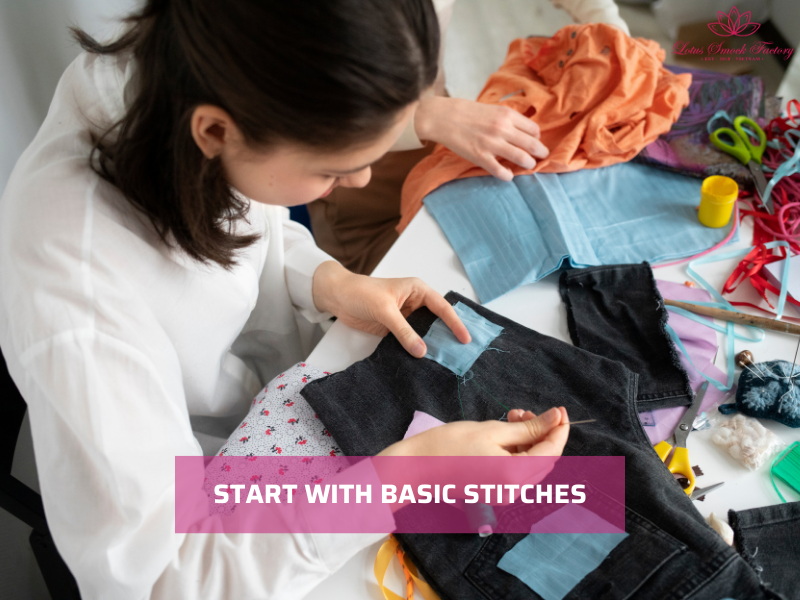
3.4. Step 4: Start with Basic Stitches
Practice a few basic stitches before starting your main design. These form the foundation for nearly all embroidery projects.
- Backstitch: Best for outlines and simple borders.
- Satin stitch: Covers shapes with solid color. Works well for petals or small motifs.
- French knot: Creates small raised dots, ideal for flowers or accents.
If you want to move beyond these basics, try reading our guide on how to embroider flowers to apply satin stitches and knots in creative ways.
3.5. Step 5: Build Your Design
Once you are confident, begin layering stitches to add depth and character.
- Start with outlines: Define the shape with backstitch or split stitch.
- Add fill: Use satin or long-and-short stitch for solid areas.
- Play with shading: Mix two thread colors in the needle to create gradient effects.
For example, If you are making a monogram, you can outline the letter in backstitch and then fill it using satin stitch for a bold look. This technique is often used in embroidery lettering projects.
3.6. Step 6: Finishing Your Work
A neat finish keeps embroidery looking polished and lasting longer.
- Secure the ends: Weave thread tails through the back of stitches instead of tying big knots.
- Wash gently: After finishing, rinse in cool water to remove any markings. Avoid harsh detergents.
- Press with care: Place the piece face down on a towel and use a pressing cloth between iron and fabric. This protects the texture of stitches.
4. Common Mistakes & How to Avoid Them
When you first learn how to do embroidery, mistakes are normal. But you know the common ones, you can avoid frustration and wasted effort.
Pulling thread too tight: puckering fabric
Many beginners pull the thread harder than needed. This causes the fabric to wrinkle or pucker, making the design uneven. Keep your stitches firm but relaxed. The fabric should stay flat inside the hoop. If it starts to wrinkle, loosen your tension slightly.
Skipping fabric prep: distorted designs
Unwashed or wrinkled fabric often leads to messy results. Designs can shrink, warp, or lose shape after the first wash. Always wash, dry, and iron fabric before you start. A smooth surface keeps stitches neat and designs clear.
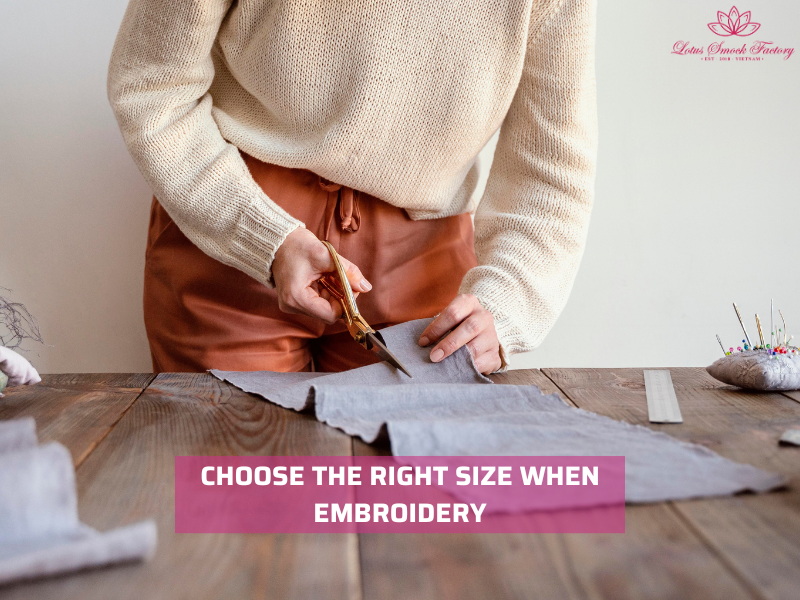
Using the wrong needle or hoop size
Not all needles and hoops are the same. A needle that is too big leaves holes in the fabric, while one that is too small makes threading difficult. The same goes for hoops: too small and you will have to reframe constantly, too large and the fabric may sag. Match your tools to your fabric and design.
Pro Tip: test before you stitch
Always test stitches on a scrap piece of fabric first. This lets you check thread thickness, color blends, and tension. It also gives you practice before you work on the main design. A few minutes of testing saves hours of fixing mistakes.
5. Elevating Your Embroidery Skills
Once you feel confident with the basics, you can move beyond simple stitches and start exploring more advanced techniques. These methods will add depth, texture, and variety to your projects, making your embroidery look professional and creative.
Experimenting with advanced stitches
Try adding stitches that go beyond the backstitch or satin stitch. Each new stitch expands your design options:
- Chain stitch: Perfect for bold outlines or curved shapes.
- Bullion knots: Create raised details such as flower petals or textured accents.
- Couching: Secure thicker threads or yarns onto fabric for dramatic effects.
Practicing these stitches on scrap fabric helps you build confidence before using them on final pieces. You can also apply them when you learn how to embroider flowers, since many floral patterns use knots, loops, and layered stitches.
Combining embroidery with other techniques
You don’t have to stop at threadwork. Embroidery pairs beautifully with other textile crafts:
- Appliqué: Attach fabric pieces and stitch around them for colorful, layered designs.
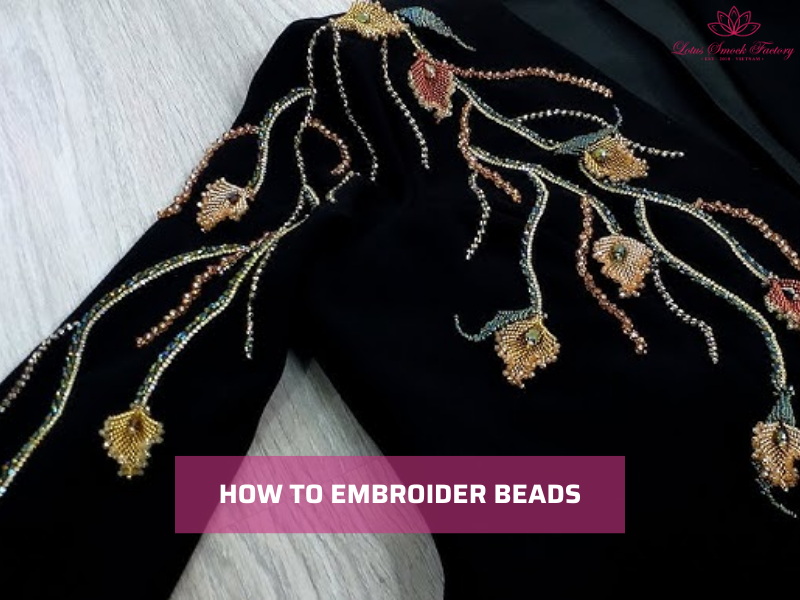
- Beadwork: Add sparkle and dimension by incorporating beads directly into your stitches. Learning how to embroider beads is a simple upgrade that makes patterns stand out.
- Crochet embroidery: Mix crochet motifs with embroidery details for unique textures.
These combinations give your work a modern touch and allow you to experiment with different materials.
Adding texture with different thread types
Changing your thread choice can completely transform the look of your embroidery.
- Use metallic threads for shine and accent details.
- Try silk threads for a smooth, elegant finish.
- Layer wool or thicker cotton to create raised, textured areas.
If you enjoy personalization projects, these thread types also work well when you practice how to embroider on clothes, especially when decorating denim jackets, sweatshirts, or caps.
6. Caring for Embroidered Items
Taking care of embroidered pieces the right way keeps the stitches neat and the fabric strong. Embroidery is durable, but it can fade, fray, or lose shape if washed or stored incorrectly. With a few simple habits, you can make sure your projects last for years.
Washing by hand vs. machine
- Hand washing is the safest method. Use cold or lukewarm water with a mild detergent. Gently move the fabric around instead of scrubbing.
- Machine washing is possible for sturdy fabrics like denim or cotton. Place the item in a mesh laundry bag, select a gentle cycle, and use cold water. Avoid bleach or strong chemicals because they weaken threads.
Drying flat and storing away from sunlight
- After washing, lay the fabric flat on a clean towel. Reshape it if needed, and let it air dry. Avoid hanging because the weight of the water may stretch the stitches.
- Store embroidered items in a cool, dry place. Direct sunlight fades colors over time, especially when you embroider flowers or use bright thread shades.
Pressing with a pressing cloth to protect stitches
- Always iron on the reverse side of the fabric. Place a thin cotton cloth between the iron and embroidery to prevent flattening stitches.
- Use a low to medium heat setting. Avoid steam unless the fabric requires it, since excess moisture can weaken adhesive stabilizers or distort stitches.
7. FAQs
7.1. How long does it take to learn embroidery?
Most beginners can learn the basics of embroidery in a few hours. Simple stitches like the backstitch or running stitch are easy to pick up, while more advanced techniques take practice.
With steady effort, you can complete small projects within a week. Like any craft, the more you practice, the faster your skills improve.
7.2. Do you need a machine to do embroidery?
No, you don’t need a machine. Hand embroidery only requires a needle, thread, fabric, and a hoop. A sewing or embroidery machine can speed up larger projects, but many people enjoy hand stitching for its creative control and detail.
If you want to try both, you can start with hand embroidery and later explore embroidery with a sewing machine guide for faster results.
7.3. Can I embroider on denim or leather?
Yes, you can embroider on denim, which is sturdy and holds stitches well. Using a sharp needle and strong thread helps create clean results when you know how to embroider on denim.
Leather is more challenging because it does not heal from needle holes. For leather, you’ll need special needles and techniques, or consider surface embellishments like patches instead.
7.4. What’s the easiest stitch for beginners?
The running stitch is the easiest for beginners. It’s simple, quick, and forms the base for many designs. Other beginner-friendly stitches include the backstitch for outlines and the satin stitch for filling areas.
Once you feel confident, you can try decorative stitches such as French knots or embroider letters for personalized projects.
8. Final Words
Now you know the answer to “how do you do embroidery.” You start with the right fabric, pick a design, and use basic stitches to bring it to life. Anyone can learn it with patience and practice. Try small projects first and grow your skills step by step. If you are ready, follow the steps in this guide and begin your embroidery project today.
Lotus Smock is a brand of TAQ SERVICE TRADING DEVELOPMENT JSC. In clothing business, we’ve been crafting unique pieces for the domestic market since 2010. We prioritize the quality, so we don’t accept overly big orders. We are committed to producing high-quality products at the best prices. Recently, we have started engaging in social media and marketing to reach international customers, bringing the best products from Vietnam to friends around the world.
Contact Lotus Smock at:
- Facebook: facebook.com/lotussmockfactory
- WhatsApp: +84 83 333 3498
- Youtube: youtube.com/@LotusSmockFactory