How to Embroider a Leaf: Step-by-Step Guide for Beginners
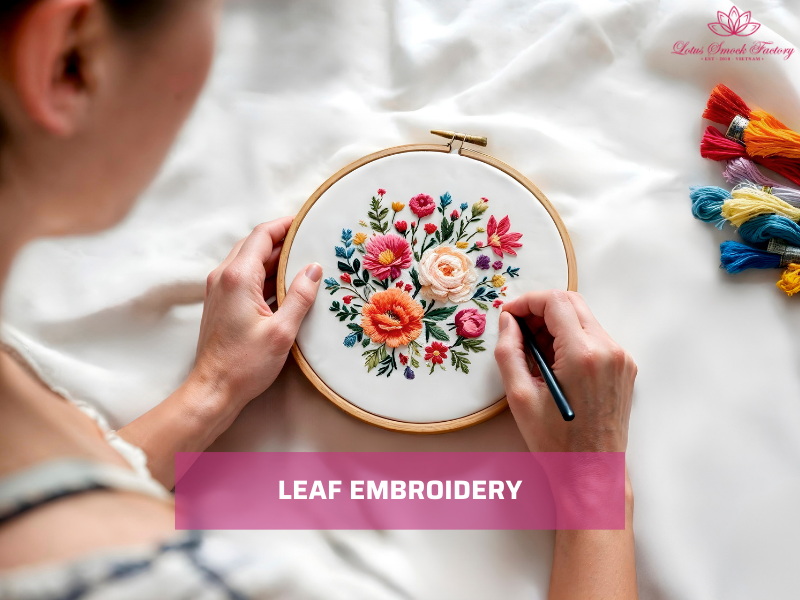
How to embroider a leaf? Leaf embroidery means using stitches to create leaf shapes on fabric, often with techniques like fishbone stitch, satin stitch, or lazy daisy. Leaves are popular because they are versatile, simple, and perfect practice motifs for beginners. You can embroider a leaf on clothes, napkins, tote bags, or as part of a floral pattern.
In this guide, you will learn step-by-step methods, pro tips, and easy fixes for common problems. Keep reading and try your first leaf embroidery today.
1. What Is Leaf Embroidery?
Leaf embroidery is a decorative technique where you use stitches to create shapes that look like leaves. Common stitches include fishbone stitch, satin stitch, and lazy daisy. Each stitch style gives a different effect, from the vein-like look of fishbone to the smooth surface of satin.
You can use leaf embroidery in many ways:
- Combine with flowers for botanical designs.
- Add borders on napkins, table runners, or scarves.
- Embellish monograms or initials with small leaves.
- Create decorative patches for denim jackets or tote bags.
Embroidering leaves is also great for beginners. They are small, versatile motifs that let you practice different stitches without a big project. Once you know how to embroider a leaf, you can apply the same skills to larger floral or nature-themed designs.
2. Tools and Materials You’ll Need
Before you embroider a leaf, you should gather the right tools. The table below eplains what to prepare and how to use each item.
| Tool / Material | Details & Options | Notes / Tips |
| Fabric | Cotton and linen are easy for beginners.
Denim is durable and makes embroidered leaves stand out. |
Wash and iron fabric before stitching.
Denim is harder to pierce but holds stitches firmly. |
| Embroidery Floss / Thread | Use 2–6 strands depending on the stitch.
Fewer strands for fine veins, more strands for bold fills. |
Blend different green shades for realistic leaves.
Keep extra skeins for practice. |
| Hoop | A small hoop (10–15 cm) keeps fabric taut. | Tension prevents puckering and keeps stitches even. Don’t overstretch. |
| Needles | Embroidery or crewel needles, sizes 7–9. | Choose a needle size that matches the number of strands you use.
Thinner needles for 2–3 strands, thicker for 6 strands. |
| Scissors & Fabric Marker | Small, sharp scissors for trimming threads.
Fabric marker or chalk for outlining leaf shapes. |
Use water-soluble markers for temporary guides. |
| Stabiliser (Optional) | Cut-away or tear-away stabiliser for thin fabric. | Helps prevent puckering. Not needed on thick fabrics like denim. |
Pro Tip: You should use shorter thread lengths, about 40–50 cm, to reduce tangling and fraying while you stitch.
3. Step-by-Step: How to Embroider a Leaf
Learning how to embroider a leaf is one of the best ways to practice hand embroidery. A leaf is small, versatile, and works well on its own or combined with flowers and borders. Follow these nine steps to stitch your first leaf with confidence.
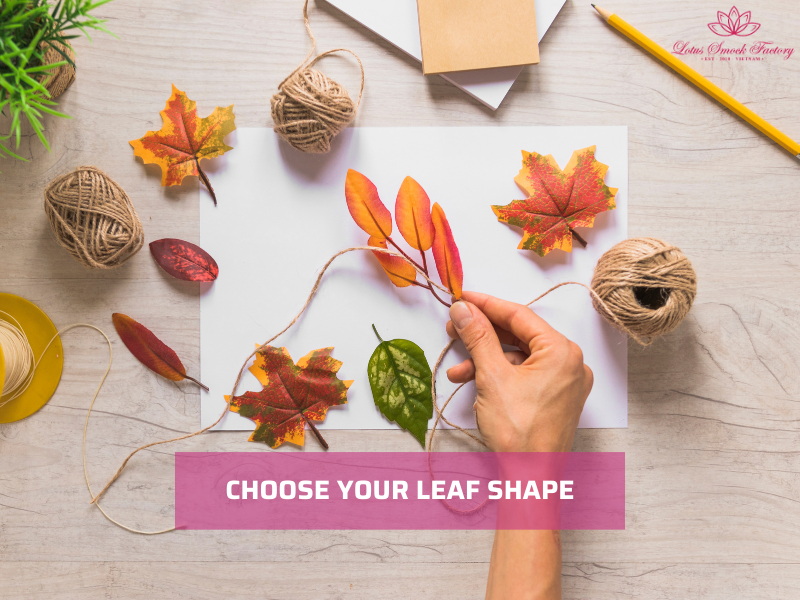
3.1. Step 1: Choose Your Leaf Shape
You should begin by deciding what kind of leaf you want to make. Start simple with teardrop or oval outlines before moving to complex shapes like pointed leaves or layered branches.
- Use a fabric pen to draw your outline.
- If you want symmetry, trace a template or stencil.
Clear outlines make stitching easier and help keep both sides balanced.
3.2. Step 2: Hoop the Fabric
You then need to prepare the fabric for stitching. Place your fabric into a hoop and tighten it so the surface is firm.
- Keep the fabric taut but not overstretched.
- Proper tension prevents puckering and keeps stitches neat.
This step gives you a stable base and reduces mistakes later.
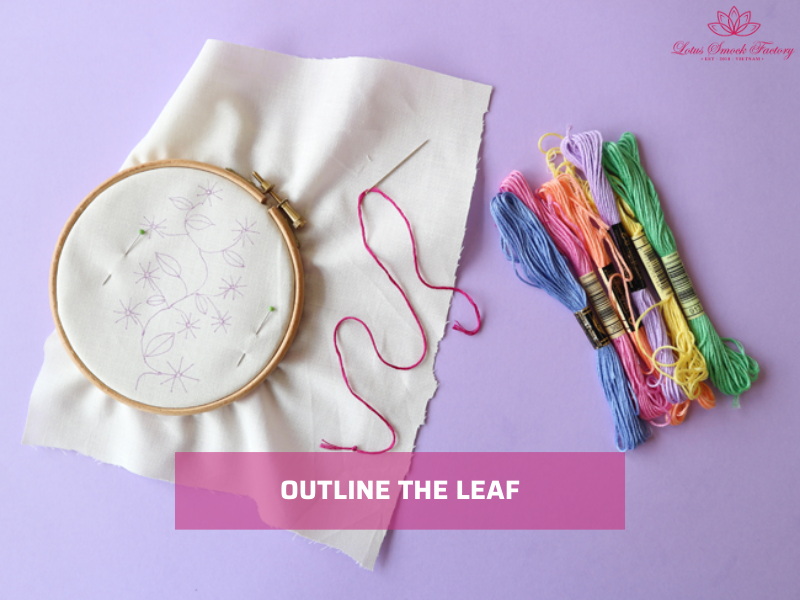
3.3. Step 3: Outline the Leaf
Next, you create a border to guide your stitches. Use a simple stitch that defines the shape clearly.
- Backstitch: best for clean lines.
- Stem stitch: adds a slight twist, good for curved outlines.
- Split stitch: works well for thicker borders.
This outline acts as a frame for the filling stitches.
3.4. Step 4: Mark the Center Vein
Now, you should mark a faint line down the center of the leaf.
- This line works as a guide for stitch direction.
- It helps you keep the design balanced and symmetrical.
For realistic leaves, the center vein is one of the most important details.
3.5. Step 5: Choose a Filling Stitch Method
Now it’s time to pick a stitch to fill the leaf. Each stitch creates a different texture:
- Fishbone stitch: adds a natural vein-like effect.
- Satin stitch: creates a smooth, solid surface.
- Long-and-short stitch: allows shading with different colours.
- Detached chain (lazy daisy): adds texture, perfect for petals or smaller leaves.
Your choice depends on the style you want—realistic, smooth, or textured.
3.6. Step 6: Start Filling from the Base
Begin stitching near the stem and move toward the tip.
- For fishbone stitch: alternate stitches left and right across the center vein.
- For satin stitch: fill the shape row by row until it is covered.
- For long-and-short stitch: vary stitch length to create depth.
Starting at the base gives the leaf a natural direction and flow.
3.7. Step 7: Adjust Stitch Direction for Shape
You must adjust the stitch direction based on the leaf’s shape.
- For rounded leaves, angle stitches outward to create a curved look.
- For pointed leaves, keep stitches straight and tighter near the tip.
These adjustments help the leaf look realistic instead of flat.
3.8. Step 8: Secure the Thread at the Back
After filling, secure your thread so the design holds up during use.
- Tie small knots on the back or weave the thread under existing stitches.
- Trim excess thread neatly to avoid lumps.
- Clean finishing is as important as neat stitching on the front.
3.9. Step 9: Add Details & Finish
Finally, add small details to make the leaf more interesting.
- Outline veins with a stem stitch for definition.
- Add French knots for texture or dew-drop effects.
- Use multiple shades of green to blend and create realism.
- Once finished, smooth the fabric in the hoop and admire your work.

4. Troubleshooting Common Problems
When you learn how to embroider a leaf, a few small issues can affect the final look. These problems are common for beginners, but each has a simple fix.
Uneven stitches
Stitches may look crooked or vary in length, which makes the leaf shape uneven.
⇒ Fix it by re-drawing your outline with a fabric pen before stitching. Slow down and follow the guide carefully. Practicing on scrap fabric also helps you improve consistency.
Thread tangling
Long pieces of thread often twist and knot while you stitch. This creates lumps on the surface.
⇒ You fix it by using shorter thread lengths, about 40–50 cm. Let the thread hang loose now and then to untwist itself. You can also condition the thread with wax to reduce friction.
Knots slipping through
Sometimes knots don’t hold and slip through the fabric, leaving gaps.
⇒ You wrap floss tighter when forming knots. Double knots or weaving the end under nearby stitches make the back more secure.
Fabric puckering
If the fabric gathers or wrinkles around the leaf, it means the tension is wrong.
⇒ Fix it by keeping your hoop tight. You don’t overstretch, but make sure the surface is firm. Also, avoid pulling the thread too hard, as this distorts the fabric.
5. Creative Uses for Leaf Embroidery
Once you learn how to embroider a leaf, you can apply this simple motif to many projects. Leaves work well alone or combined with other stitches, and they can decorate clothing, accessories, or home items. Here are some creative ideas to try.
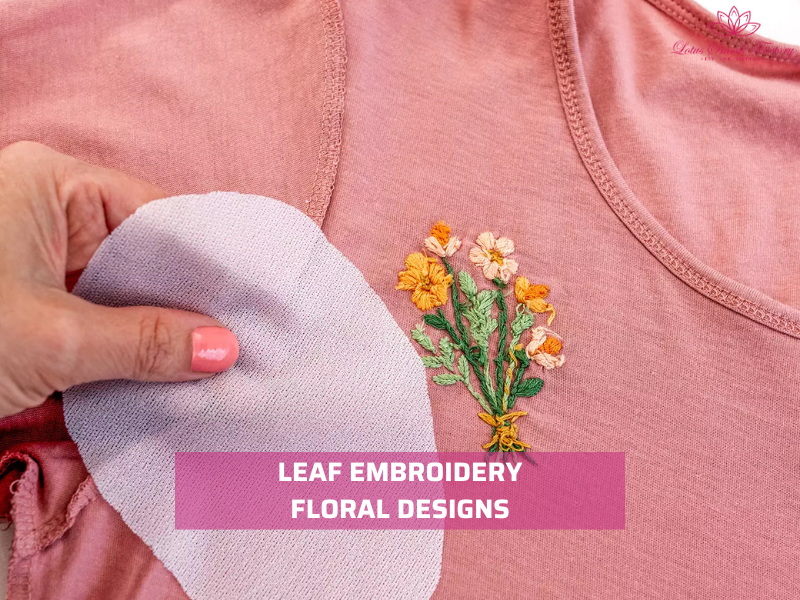
Floral designs
Leaves are the perfect partner for flowers. A few stitched leaves can frame roses, daisies, or vines to make the design look complete. You can place them around the edges of petals, use them to connect stems, or scatter them for a natural effect.
If you want to expand your project, see our tutorial on how to embroider flowers for pairing inspiration.
Clothing
Adding leaves to clothes is one of the easiest ways to customise fashion. Small leaf motifs work well on collars and cuffs, while larger designs look striking on denim jackets. You can embroider a single leaf near a pocket or build a border of leaves along sleeves.
For more ideas on adding designs to apparel, see our guide on embroidering on clothes.
Patches
Leaf embroidery also makes great patches. Stitch a leaf motif on a small piece of fabric, then add an iron-on backing so it can be applied to bags, jeans, or jackets. Patches are useful for both decoration and covering worn spots.
If you want to learn the process, check our guide on how to make an iron on embroidery patch.
Home décor
Leaves can give a handmade touch to everyday household items. Embroider them on napkins, table runners, or pillow covers to bring a natural theme into your décor. You can keep designs simple with single green leaves or use different shades for an autumn-inspired look.
6. FAQs About Leaf Embroidery
6.1: What stitch is best for leaves?
The most popular stitch for leaves is the fishbone stitch because it creates a natural vein effect down the center. Other good choices are satin stitch for smooth surfaces, long-and-short stitch for shading, and detached chain (lazy daisy) for simple petals and small leaves.
6.2: Why does my leaf embroidery look uneven?
Uneven leaves often happen when the outline is not clear or the stitches are pulled at different tension levels. Re-draw the outline with a fabric pen and slow down while stitching. Keep fabric taut in the hoop, and use shorter thread lengths to maintain consistency.
6.3: Can I embroider leaves on stretchy fabric?
Yes, but you should stabilise the fabric first. Stretchy materials shift under the stitches, which causes puckering. Use a cut-away stabiliser or fusible backing to keep the surface firm. Choose stitches like backstitch or satin stitch that hold well on stretch fabric.
6.4: How do I combine leaves and flowers in one design?
Leaves and flowers work best together in botanical motifs. Stitch the flower first, then add leaves around the petals or along the stem for balance. Use fishbone or lazy daisy stitches for leaves, and try satin or French knots for flower centers. For more detail, see our guide on how to embroider flowers.
7. Final Words
After learning how to embroider a leaf, and why it is one of the easiest motifs for beginners. With just a few stitches, you can create leaves that look neat, textured, or shaded. Leaves fit anywhere on flowers, borders, clothes, or home décor.
Start with simple shapes and try different stitches until you find the look you like. Remember to use shorter threads, keep fabric taut, and secure the back neatly.
Lotus Smock is a brand of TAQ SERVICE TRADING DEVELOPMENT JSC. In clothing business, we’ve been crafting unique pieces for the domestic market since 2010. We prioritize the quality, so we don’t accept overly big orders. We are committed to producing high-quality products at the best prices. Recently, we have started engaging in social media and marketing to reach international customers, bringing the best products from Vietnam to friends around the world.
Contact Lotus Smock at:
- Facebook: facebook.com/lotussmockfactory
- WhatsApp: +84 83 333 3498
- Youtube: youtube.com/@LotusSmockFactory